There is nothing quite like the excitement of picking out new window treatments. You’ve spent hours browsing designs, comparing fabrics, and finally finding the perfect look to elevate your home. But before you hit that order button, there is one critical step that stands between you and interior design perfection: measurement.
When it comes to custom blinds, shades, or drapes, accuracy is everything. Even being off by a mere quarter of an inch can mean the difference between a flawless, high-end fit and a frustrating return process.
To help you get it right the first time, we’ve put together the ultimate measurement guide, highlighting the five most common pitfalls homeowners make—and exactly how to avoid them.
Mistake 1: Using a Fabric Measuring Tape
If you take away only one tip from this guide, let it be this: put down the sewing tape. Flexible cloth or plastic measuring tapes stretch out over time, sag in the middle of a wide span, and easily bend, giving you inaccurate numbers.
-
The Fix: Always use a heavy-duty metal tape measure. It stays completely straight and rigid, ensuring a precise, true-to-size reading every single time.
Mistake 2: Measuring Only Once (and Only in One Spot)
Windows look perfectly square at a glance, but houses settle, and frames shift. Almost no window frame is a perfect rectangle. If you only measure the width at the very top, you might find your shades get stuck halfway down because the frame narrows at the bottom.
-
The Fix: Use the “Rule of Three.” * For Width, measure at the top, middle, and bottom.
-
For Height, measure at the left, middle, and right.
-
If you are ordering Inside Mount shades, use the narrowest width so the shade doesn’t jam. If you are ordering Outside Mount or drapes, use the widest/longest measurement.
-
Mistake 3: Confusing Inside Mount vs. Outside Mount
This is where many DIY projects go wrong. Inside mount means the treatment sits tucked completely inside the window casing. Outside mount means it is installed on the wall above the frame, completely covering it.
-
The Fix: Decide on your mounting style before you pull out the tape measure.
-
For Inside Mount, measure the exact inside opening of the frame. Do not make any deductions—the manufacturer will calculate the tiny gap needed for the shade to move freely.
-
For Outside Mount, measure the outer edges of the trim and add 2 to 4 inches of overlap to each side to ensure total privacy and light block.
-
Mistake 4: Forgetting to Check for Window Depth
For an inside mount to look sleek and sit flush with your wall, your window frame needs to be deep enough to hold the mounting hardware. Features like window cranks, handles, or windows that tilt inward can completely block a shade from rolling down.
-
The Fix: Measure the recess depth of your window frame. Check the minimum depth requirements of the specific product you want to buy. If your frame isn’t deep enough or a crank handle is in the way, switch to an outside mount.
Mistake 5: Measuring the Existing Blinds Instead of the Window
It seems logical: if your old blinds fit perfectly, why not just measure them? Unfortunately, different manufacturers use different factory deductions for their hardware. Measuring old blinds instead of the actual window opening almost always guarantees a poor fit for your new product.
-
The Fix: Always measure the raw window opening or wall space, never the old treatment itself.
Pro-Tip: Write It Down Clearly
When you are measuring multiple windows, write everything down immediately using a standard template: Width x Height. (People frequently swap these two numbers, which leads to ordering a very short, wide blind instead of a tall, narrow one!)
Want a Flawless Fit, Guaranteed?
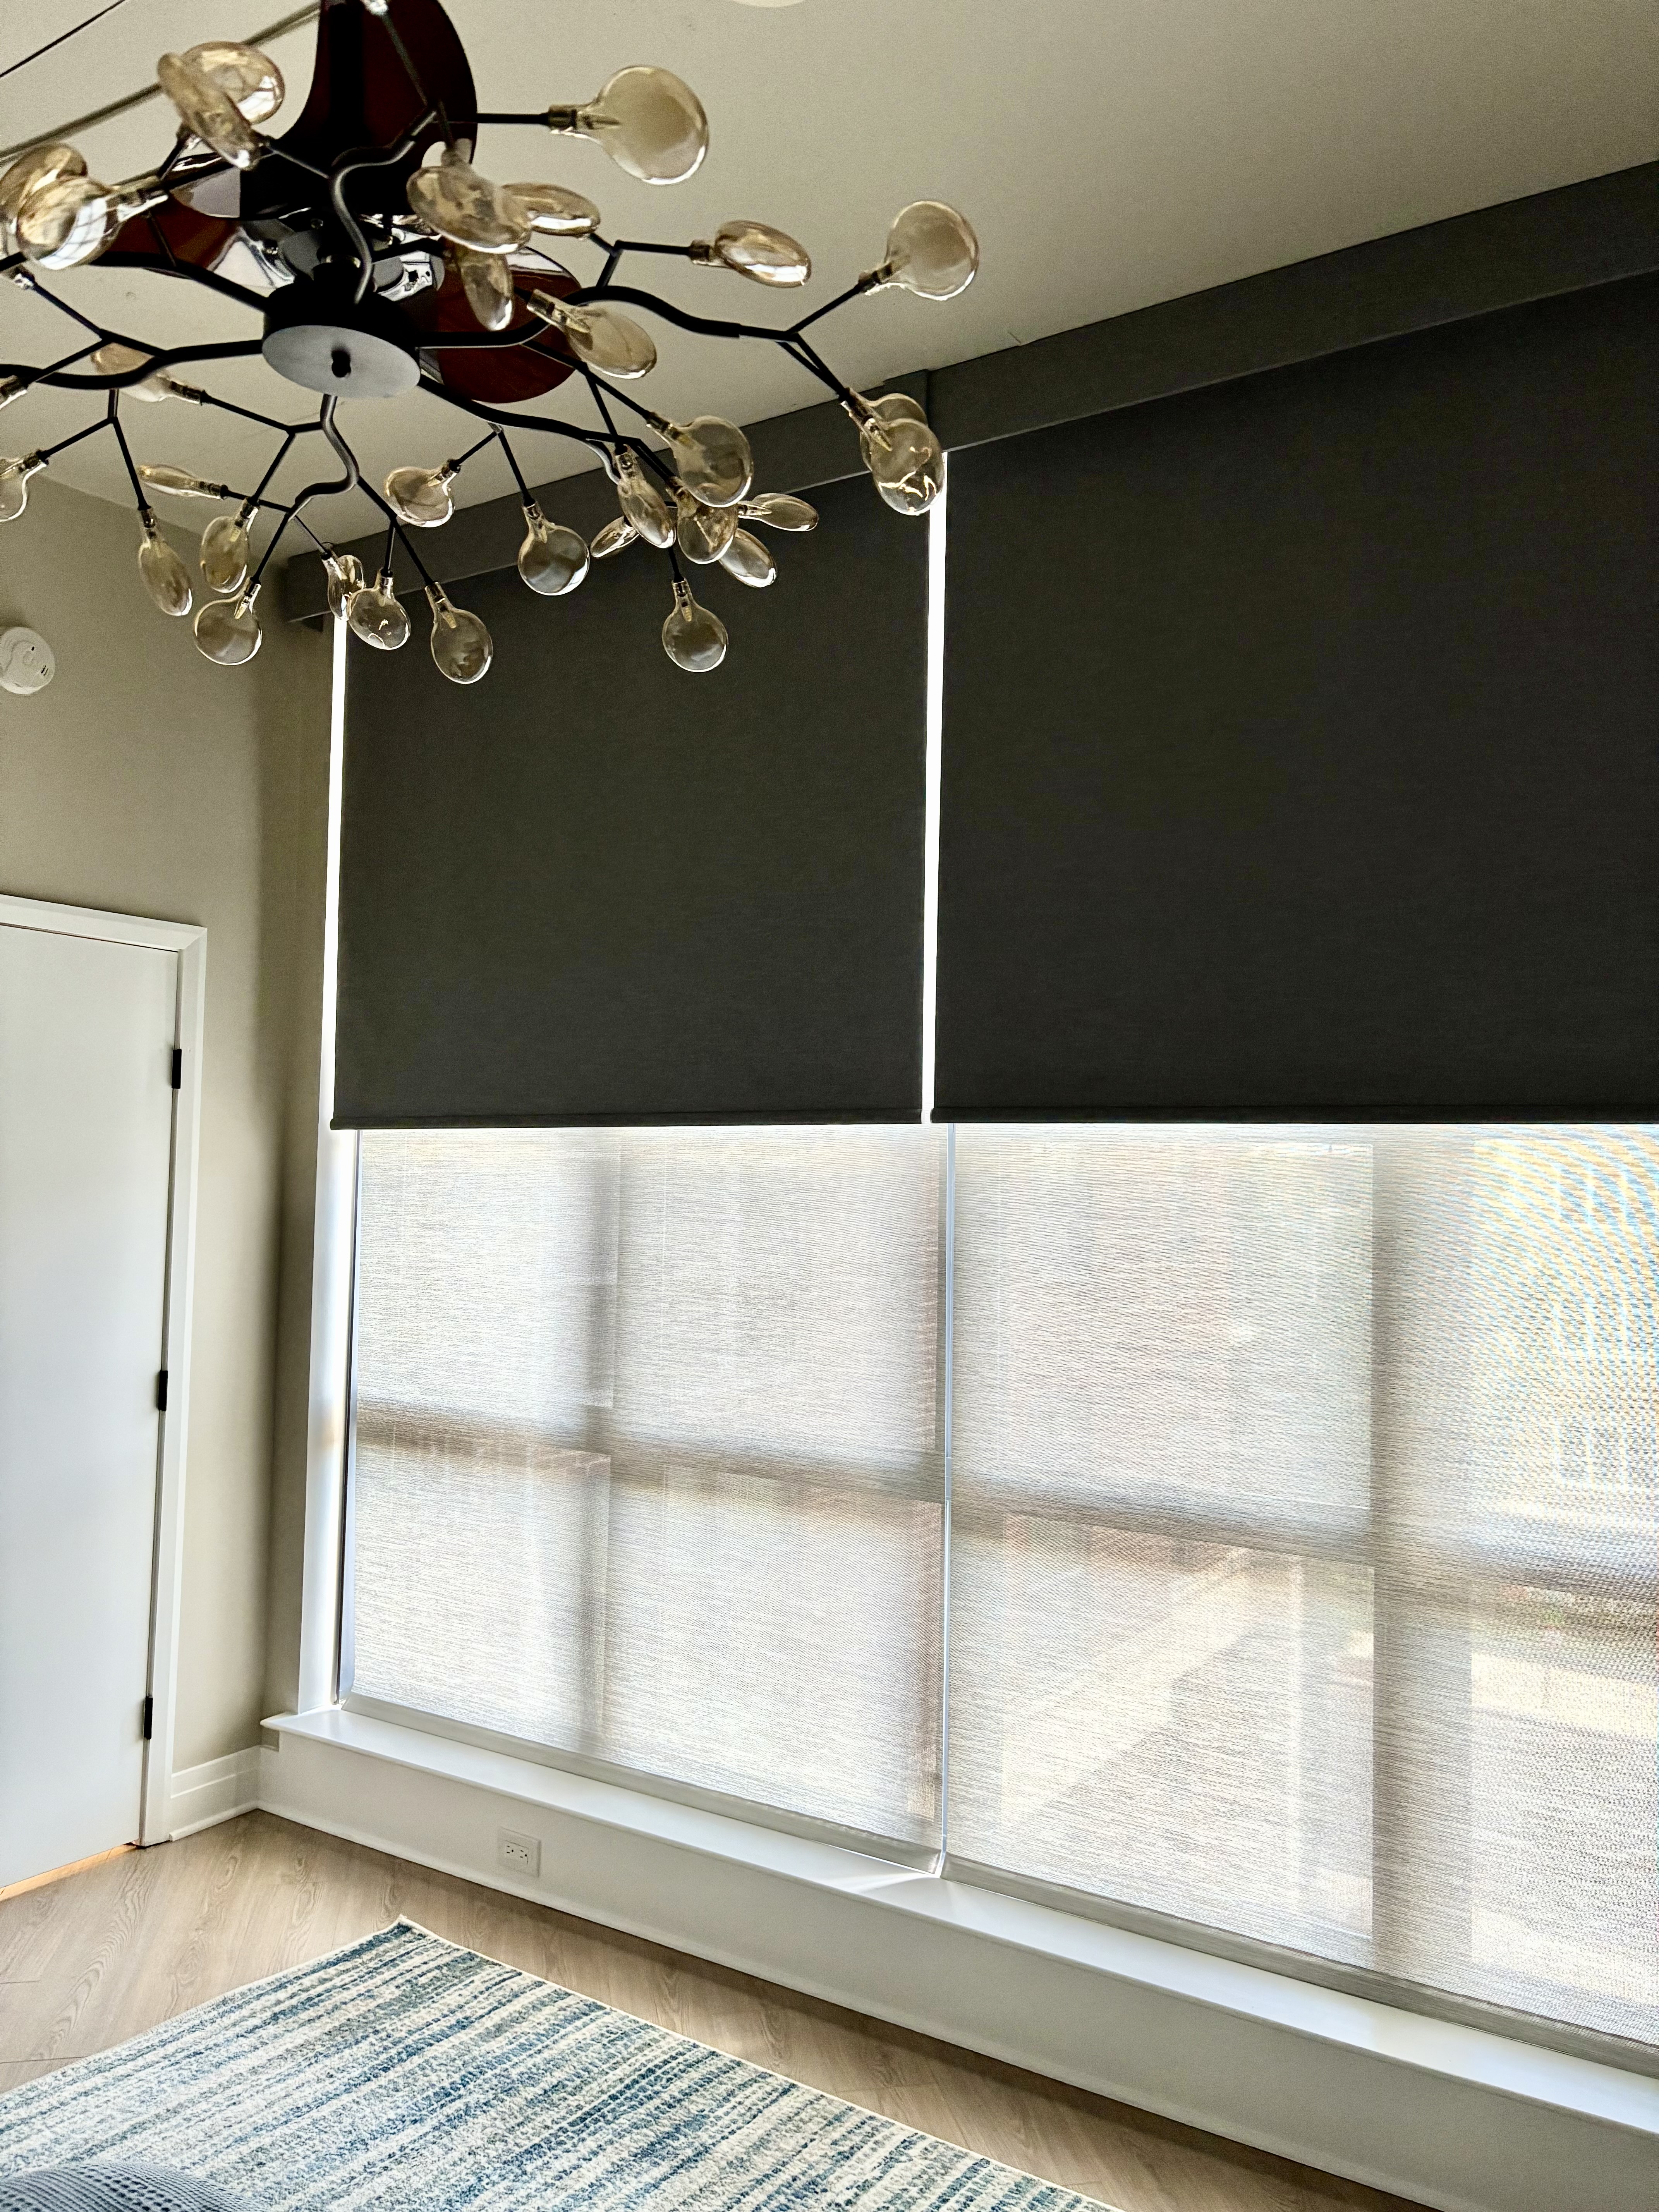
Measuring can feel intimidating, but taking your time and following these steps will set you up for success. However, if you have unique windows, arches, or just want absolute peace of mind, you don’t have to do it alone. Here some inspo.
Skip the stress entirely! Reach out to us today to schedule a professional measurement and consultation, and let our team handle the details from start to finish.